Binder & Paper Organization: Best Practices for Students
[Reading time: 2 minutes 40 seconds]
Even though we are squarely in the digital age (and well into remote learning), there are still plenty of times when students have to deal with paper: syllabuses, parent permission forms, graded papers, lyrics for choir–
Brains that are not strongly wired in the brain skill of organization are going to lose papers in a pattern that's predictable, frustrating, and completely demoralizing - especially for the student.
But take heart and have hope because help is here!
The big picture view
Essentially all useful organizing is about two things:
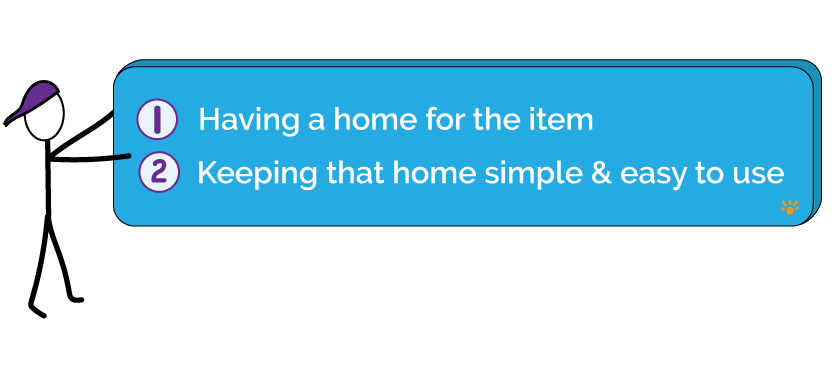
Students will stuff papers into backpacks, lockers and pockets because where it belongs isn't readily apparent OR accessible. So Tip #1 is about the home (aka the binder).
-
Get a binder that the student really likes
The only way you're going to get buy-in on actually using the binder is to have your student be the one who chooses it. This means it's a no-rush purchase and it may even be better if you let them peruse the choices without you. The only criteria is that it needs to easily fit in their backpack. If it's a hassle to get the binder in/out, they won't use it.
(In case your student is open to ideas, here's my favorite: 1.5” Plastic Binder by 5 Star)
-
Write in their contact info
Include your student's full name, grade, phone number, and the name of their school. You can do this with a Sharpie on the inside cover. I'd be lost without my planner so my name and number are right on the first page.
-
Use pocket dividers and label the tabs
Binders will become piles if they don't have pocket dividers to separate the subjects. Each tab should be clearly labelled. Keep it simple: Math, Science, Lang Arts, English…
Here's a note about pocket dividers: They need to be larger than a sheet of paper. This is because you want them to stick out beyond the papers themselves. Pockets dividers that are 8.5 x 11" make the separation of the subjects difficult to see. They needs the subject sections to be immediately apparent.
Be sure to include a pocket divider for personal/creative use. Every student I've ever worked with needed a space for doodles, etc.
I recommend these: Two Pocket Plastic Dividers (11907) by Avery.
-
Protect the often-referred-to papers
Quick load sheet protectors are excellent for keeping papers (like project descriptions and calendars) clean, untorn, and find-able in a binder. Use one sheet protector per item or it will turn into a messy pile of papers. I recommend these: Quick Load Sheet Protectors (73802) by Avery.
When the papers (in the sheet protectors) are no longer relevant, they need to be removed from the binder. Students often carry around old assignments but accumulated paper takes up space - so make more room whenever possible.
-
Include a calendar
Have one page for each calendar month of the school year. Then put these monthly pages at the front of the binder. This is where they can record upcoming tests, project due dates, and weekend commitments.
And here's the key: Each day needs to be scratched out as it passes.
Why use a paper monthly calendar? Because...
- When something is out of sight, it's generally out of mind. Your student will be prompted to think about time... every time that binder gets opened.
- It's impossible to plan using a phone or a computer. Smartphone screens are too small and digital calendars require a very strong working memory to remember important dates seen on one screen once you've swiped to the next one. I've never met a student who could keep all those dates straight.
- When your student writes down important dates (papers due-dates, midterms, extracurricular commitments), their brain sees that the event is getting closer as each day gets crossed off.
If a paper isn't due for two weeks, some students think "I've got TONS of time!" but when it's all laid out on a calendar and days are crossed off as time marches forward, their brains actually see that they don't have "all the time in the world".
A physical calendar that includes all the school and personal aspects of your student's life is an ever-present visual reminder of where they are in time and space.
-
Use a transparent portfolio to transport papers
- Does your student forget to hand in completed assignments?
- Do you find important papers at the bottom of their backpack?
If so, this is a must-have tool. Think of this transparent portfolio as a portable in-out box.
It needs to be separate from the binder itself because the contents need to be immediately visible and not buried inside the binder. (Out of sight; out of mind is very real!) This is what I recommend: Transparent Portfolio (01845) by Sparco.
Here's how it works:
- Any assignments that are ready to be handed in, go on the left side. A transparent portfolio means that paper will be visible when the portfolio is closed!

- Any papers that are given to your student during the school day, go on the right-hand side.

- When your student comes home and is ready to start homework, their first task is to clean out that transparent portfolio and deal with the new papers from school. What needs attention? What needs to be given to the parents, filed/saved, recycled? This leads us to the next three tips...
-
Define a home for parent's papers
You may are not always be around when your student is going through their backpacks. Define a place where they can put papers that you need to see. This could be a box in the kitchen (perhaps labelled "Parents"?). A few years ago, I worked with a family that used a clip on the refrigerator for these papers.
The key thing to remember with this tip is:
It's your student's responsibility to put the paper in the designated place. After that, it's your responsibility to look there every day. Find a place that is easy and obvious for everyone!
And btw, once you sign that paper and give it back, it goes in the left pocket of that transparent portfolio.
-
FILE reference papers; SAVE anything with a grade
New paper gets filed in the binder: project descriptions, current homework notes/assignments - etc. Some returned papers also need a home.
Save anything with a grade - but don't save it in the binder. You may be wondering why you might need to save old graded papers? Because your student may need them! Label a box "Save 'til June" and tuck it under the bed. Put any graded papers in there and at the end of the year, the whole thing can be recycled.
-
Recycle what isn't needed
Keep anything with a grade on it but recycle old project descriptions, practice homework sheets... anything that won't be used or referenced again.
-
Clean out the binder monthly
Have your student set a phone reminder to clean out the binder once a month. It takes about 15 minutes:
- Take everything out
- Sort each paper by subject (SAVE the graded papers in a box; recycle whatever isn't needed)
- Put everything back!
If your student doesn’t have a brain that is strongly wired in the skill of organization, an organized binder is like their external brain!
Good luck!
![]()
Organization: outside and in
The brain skill of Organization is about the organization of the external stuff (like the papers as described above) but also organization of the internal stuff (meaning our language). Your brain can be strongly wired in one but not necessarily the other. Whenever you have a weak brain skill, all you need to do is bring in the tools and strategies that will support the skill!
GoBrainGo: Helping you get into the driver's seat of your life one video at a time.

Stay Connected
Join our mailing list to receive new blog posts.
Don't worry, your information will not be shared.
We hate SPAM. We will never sell your information, for any reason.

